Cameras & Motion SensorsHow to Install a Doorbell Camera: A Step-by-Step Guide
 Stewart Grant October 27, 2024
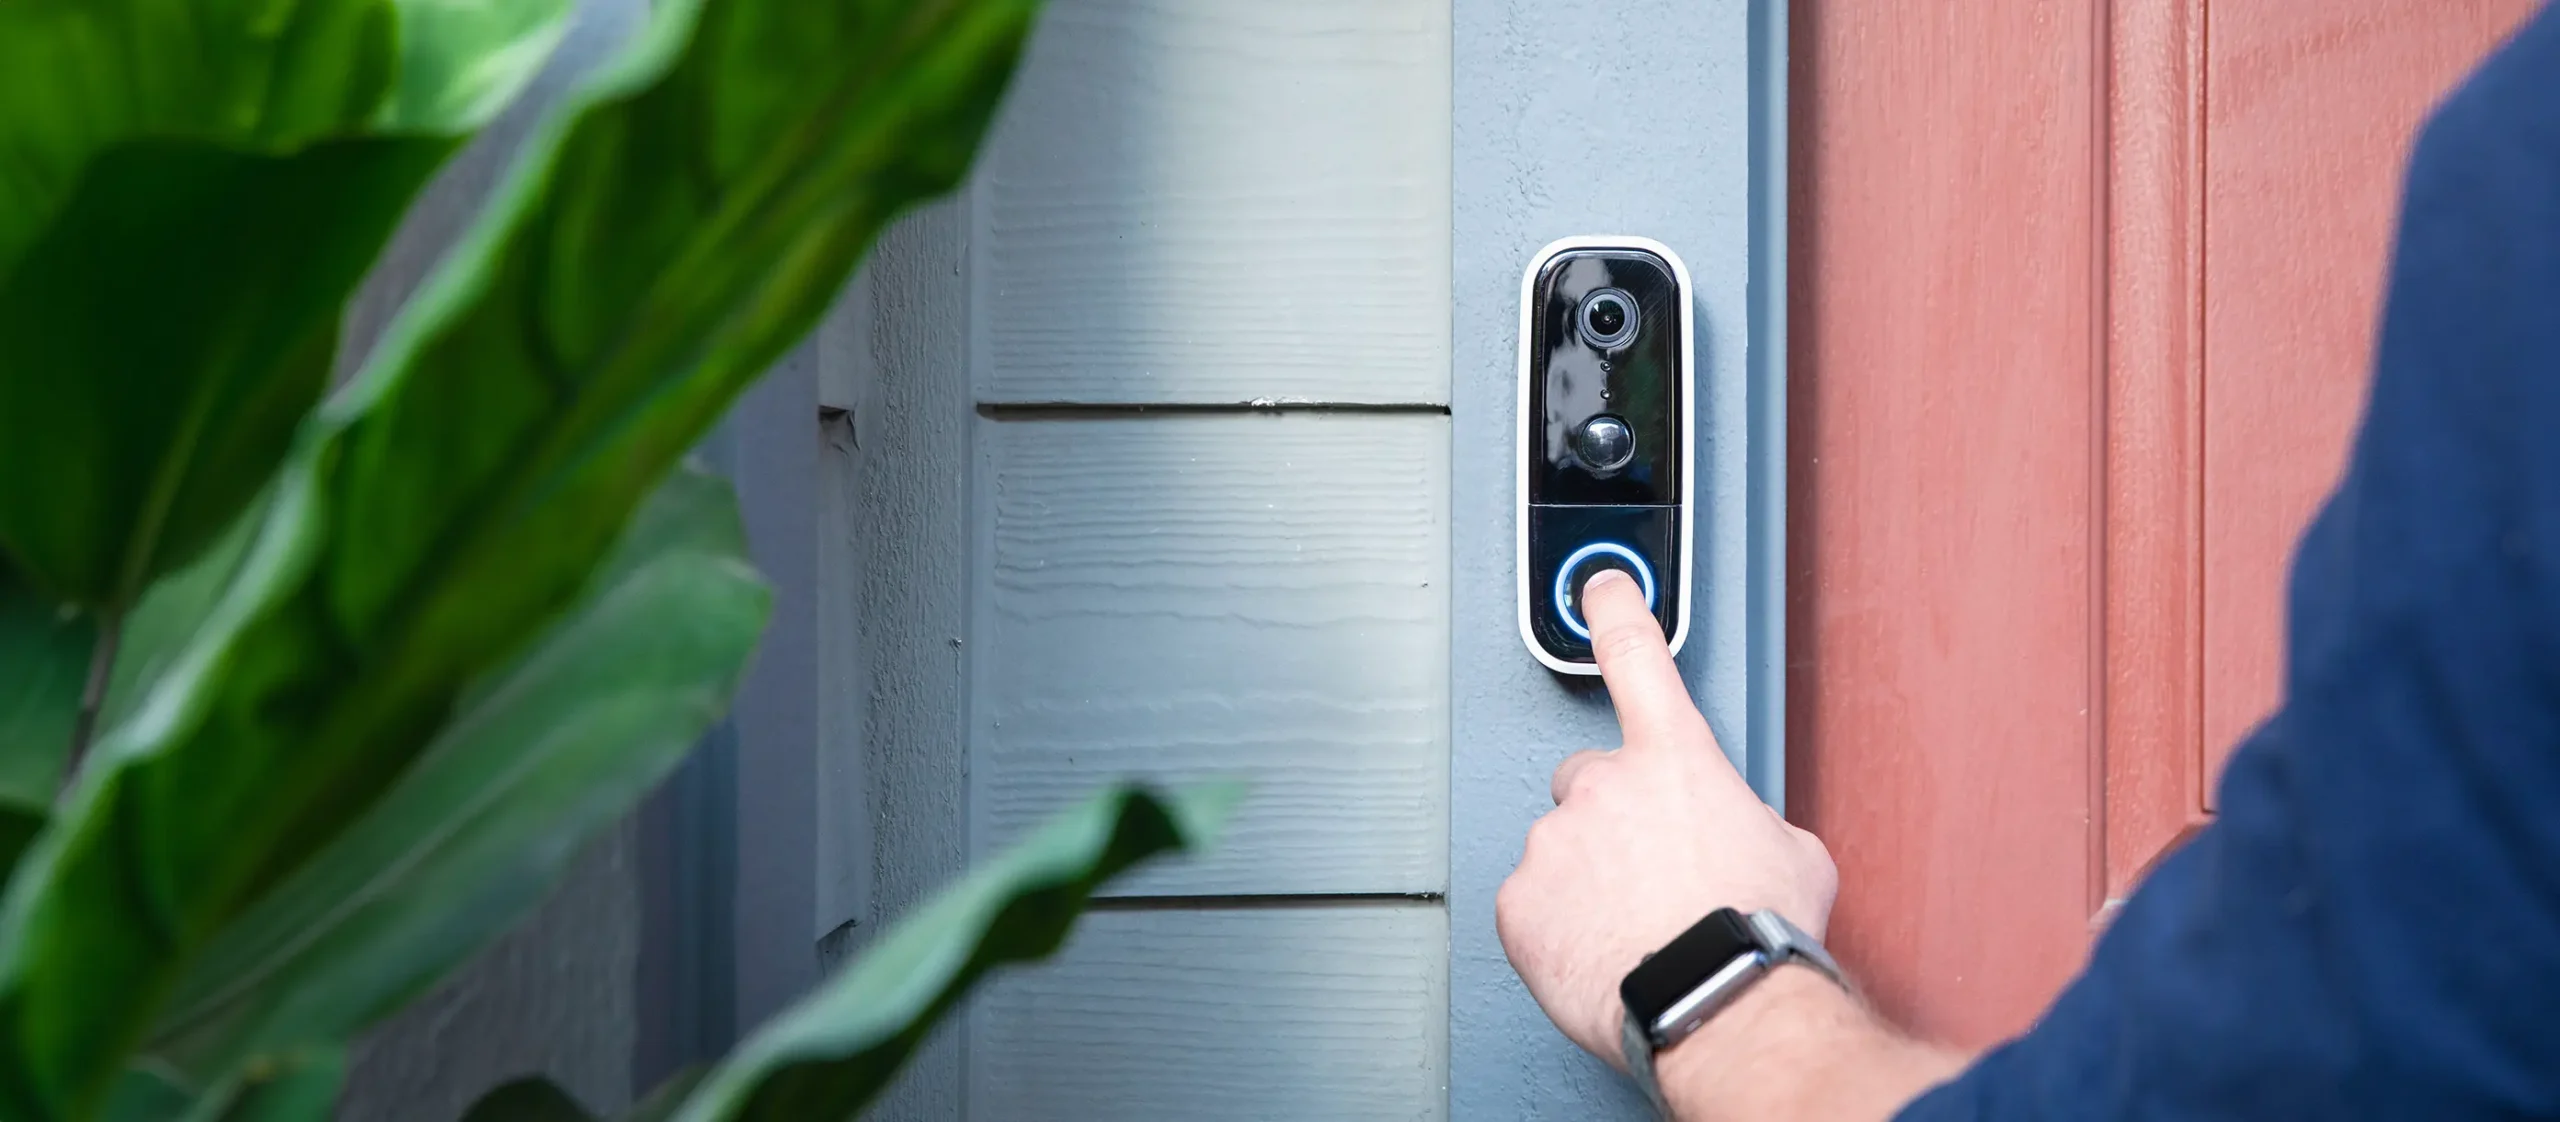
 In today’s world, enhancing your home’s security has never been more important or easier. Installing a doorbell camera is one of the simplest and most effective ways to accomplish this. Abode offers an innovative wireless doorbell camera and chime that are incredibly easy to install without the need for an electrician or any electrical wiring and provide powerful features to keep your home safe. In this guide, we’ll walk you through how to install an Abode doorbell camera, ensuring you get the most out of your smart security system. Benefits of a Doorbell Camera
Before diving into the installation process, it’s crucial to understand the benefits of having a doorbell camera:
Enhanced Security: Monitor who’s at your door, even when you’re not home.
Deterrence: Potential intruders are less likely to approach when they see a camera.
Convenience: Receive an immediate alert and answer the door remotely using your smartphone.
Recorded Footage: Capture and store video footage for later review or use in an investigation.
Tools and Materials Needed
Before starting the installation, gather the following tools and materials:
Abode Wireless Video Doorbell
Abode Video Doorbell chime
Drill with a 1/16″ (2mm) drill bit
Phillips head screwdriver
Doorbell mount and screws
Anchors (if installing on drywall)
Security screw and key (included in the kit)
Step-by-Step Installation Guide
1. Plan Your Doorbell Camera‘s Location
Choose a suitable location for your doorbell camera. It should be at least 4 feet above ground level and within range of your Wi-Fi network. Ensure there’s a clear view of the area you want to monitor and if it requires the included 30° angled mounting bracket.
2. Install the Mount
If you’re using the built-in mount, follow these steps:
Use the drill and 1/16″ drill bit to create pilot holes in the wall.
Using a screwdriver or drill, secure the mounting bracket using the screws and anchors if necessary.
Attach the camera to the mount.
3. Connect to Wi-Fi and Set Up the App
Open the Abode app on your smartphone and log into your account (if you don’t have an account yet, create one first). Then, follow these steps:
Navigate to the “Devices” tab and tap the “+” button.
Select “Add Device” and choose your doorbell camera from the list.
Follow the on-screen instructions to connect the camera to your Wi-Fi network.
4. Finalize the Installation
Once the doorbell camera is connected, secure it with the security screw and key provided to prevent unauthorized removal. Test the camera in the Abode app to ensure it’s capturing footage correctly.
Common Troubleshooting Tips
If you encounter any issues during installation, consider these tips:
Weak Wi-Fi Signal: Ensure your router is close enough to the doorbell camera or use a Wi-Fi extender.
Installation Errors: Double-check that all screws and mounts are securely fastened.
App Connectivity: Ensure your smartphone is connected to the same Wi-Fi network as the doorbell camera.
Installing a doorbell camera is relatively easy and unlocks immense benefits for your home’s security. With Abode’s easy installation process and user-friendly app, you can enhance your home’s safety in under 15 minutes. Start enjoying the peace of mind that comes with knowing your home is protected.
Ready to upgrade your home security? Visit Abode Home Security today to explore our range of smart security solutions.


 April 30, 2026 Home Security Camera Privacy in 2026: How to Protect Your Home Without Oversharing